Oval is quite a unique shape, and it blends well with most nail designs. While it’s not symmetrical like the straight tipped nails, oval nail designs can sometimes look stunning. With a steady hand, and some solid oval nail designs in mind, you are set to make a good impression with your nails.
So, the guide below sheds light on a few popular designs, and the specific steps involved in pulling off each specific look. Be careful in producing these designs, as any simple mistake means that you may have to start things over.
1. Black Oval Nail Design
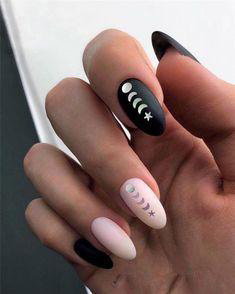
Average Application Time – 1 hour
Ingredients – Long tipped acrylics, ling pink nail coat, and galaxy stencils.
The Steps
Top on our list would be this black oval nail design, that looks simply stunning and amazon. To pull off this look, you will need a light black paint coat, moon and stars stencils, and a light cream coat. Start by applying the black nail paint on all your nails.
Start by applying the black nail coat on your pinky, index and thumb fingers. Then, apply the light cream paint on your middle and ring fingers. However, set a moon and star stencil on your middle and index fingers.
2. Nude Oval Nail Design
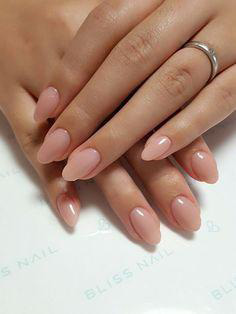
Average Application Time – 30 minutes.
Ingredients – Short tipped acrylics, nail glue, and nail jewelry.
The Steps
Next on our list would be this nude oval design, that is both creative, and laid back at the same time. For this look, you will need a light pink paint coat, which you shall apply on the top section of all your nails.
Finally, you will complement this look with a clear nail polish coat. Then, apply a clear coat of paint to help boost the quality of this finish.
3. Turquoise Oval Nail Design

Average Application Time – 1 hour
Ingredients – Gel nails, nail jewelry, and nail glue.
The Steps
Again, we take things to the next level with this Turquoise Oval Nail Design. Start by applying a light blue nail polish coat on all your nails. Then, ensure you set your nails under an LED light for curing purposes.
While you don’t need acrylics or gel nails for this look, you will find it easy to pull off with these accessories. You can also complement the look by adding some jewelry to two of your fingers on both nails.
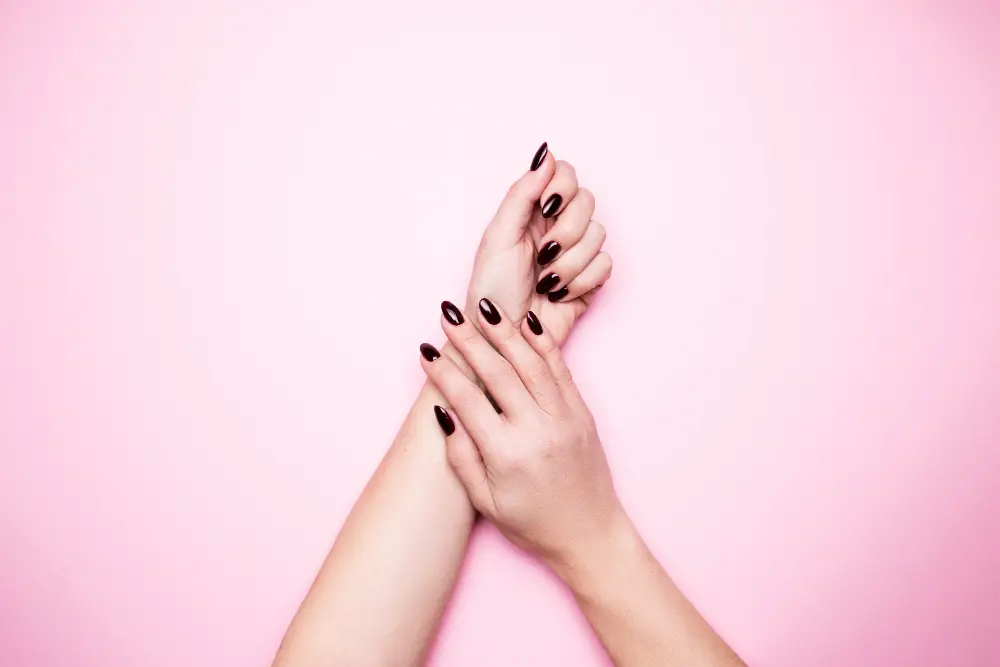
4. Pink Oval Nail Design

Average Application Time – 1 hour
Ingredients – Black nail polish, silver glitter, golden nail polish and nail glue.
The Steps
Here is where complexity comes in for this list of oval nail designs. For this pink oval nail design, you will need grey flitter, a light pink nail coat, and black nail polish.
Start by applying the light pink coat on your middle and ring finger. However, the middle and ring finger get black and grey tips on the nail edges, so that it gives this look a unique appeal. For the index and thumb fingers apply a black coat. The pinky finger gets an all glitter nail polish coat.
5. Gold Sequins Oval Nail Design
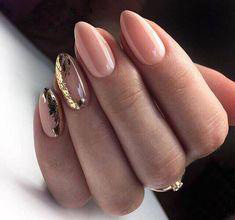
Average Application Time – 1 hour.
Ingredients – light pink nail paint, golden nail polish and nail glue.
The Steps
Again, you are going to need a bit of dexterity and skills for you to pull off this look the right way. For this gold sequined oval nail design, things are a bit easy, because you just need two nail paint templates.
Start by applying the light pink coat on your middle, index finger and thumb. However, your pinky and ring finger will get a unique golden polish to boost its appeal. Then, let it sit and cure in an environment that’s free from dirt or dust for the best curing results.
6. Matte Purple Oval Nail Design
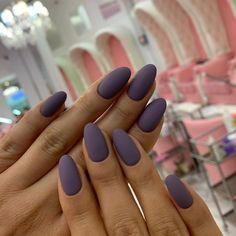
Average Application Time – 30 minutes.
Ingredients – Gel nails, nail glue and nail disinfectant.
The Steps
Start by cleaning your nails using some nail disinfectant. Once it’s clean, apply some nal glue, and then set the acrylics on your nails. Next, complement the appeal of this nail design with some light grey gel nails. You may have to place your nails in an undisturbed environment to ensure the best curing results.
7. Gel Black Oval Nail Design
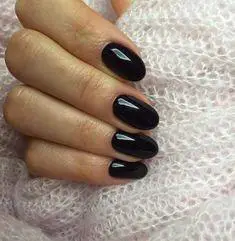
Average Application Time – 40-60 minutes.
Ingredients – a clear coat, nail disinfectant, black nail polish, nail glue, and LED light.
The Steps
The process of applying this nail polish is simple. Start by cleaning your nails, and then apply some nail glue. Next, set the short tipped acrylic nails, and complement them with some black nail polish. Once it finishes curing, set it under an LED light for the best curing results.

- Crochet Braid Hair Cost: Hope for a Style to Slay!! - January 9, 2024
- Best Braid Pattern For Crochet: Hair-Styling Tips And Tricks - January 3, 2024
- How To Braid Hair For Crochet: Best Hair-Styling Tips! - December 26, 2023