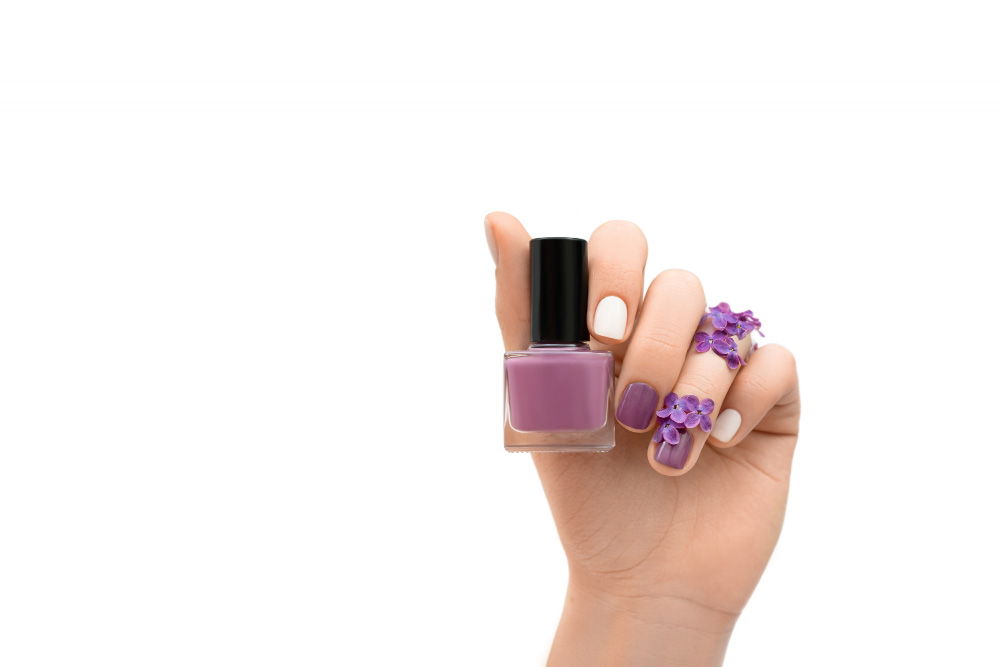
Spring tends to be one of the most lively moments of the year. You get to move around freely without storms or rain, which makes up for the perfect time to try out new nail designs. So, we take a look at 9 unique spring nail designs worth trying today in this guide.
With these nail designs, you will find it easy to make a good impression on your mates, and also look good at the same time. Best of all, each of them is easy to try, and you don’t need any technical skills in producing quality nails.
1. French Clover Spring Nail Design
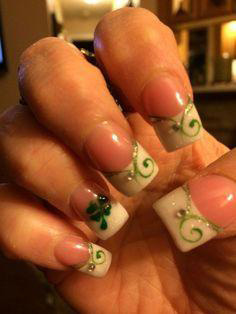
Average Application Time – 30 minutes to 1 hour.
Ingredients – white nail polish, long tipped acrylics, green stencils and a clear coat.
The Steps
First on our list would be this french clover spring nail design, that looks simple but interesting at the same time. The green in this design balances out well with the touch of glitter nail paint. For this look, you will need long tipped acrylic nails.
Start by placing these acrylics on all your nails. Next, apply clove green decals on all your nails. Finally, complement this look with some glitter and a clear nail polish coat for the best results.
2. Blue feather Spring Nail Design
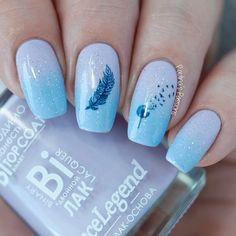
Average Application Time – 40 minutes to one hour.
Ingredients – Light blue nail polish, a clear coat, leaf stencils and some nail glue.
The Steps
Up next on this list would be this unique Blue Feather Spring nail design. It also involves the use of long tipped acrylics to ensure the best results. Start by setting the long tipped acrylics on your nails. Then, apply a light blue coat of nail polish on these nails, and complement it with some sprinkled glitter.
Next, place a leaf stencil on your middle finger, and a unique bird design on the ring finger. Let your fingers sit under an LED light for curing purposes.
3. Pink Flower Spring Nail Design
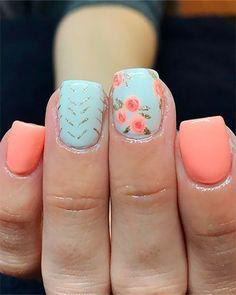
Average Application Time – 40 to 60 minutes.
Ingredients – Pink nail polish, flower stencils, light green stencils, nail glue and an LED light.
The Steps
If you are searching for a unique design to play around with your creativity, then try out this pink flower spring nail design. For this nail design, you will have to apply a light orange nail coat on your pinky and index finger.
However, for the middle and ring finger, you are going to get creative with things. Proceed to the middle finger, apply a white nail polish coat, and then complement it with some golden nail polish. For your ring finger, you will have to apply a unique flower and glitter coat on top of white nail polish.
4. Yellow Flower Spring Nail Design
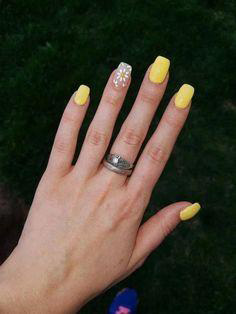
Average Application Time – 50 minutes.
Ingredients – Yellow nail olish, clear coat, flower stencils, nail glue, and some jewelry.
The Steps
Start by applying medium sized acrylics to all your nails. Then proceed to apply a light yellow nail polish on all your nails, except the ring finger. For the ring finger, you will apply a flower stencil, and complement it with some white nail polish.
5. Pink Gel Spring Nail Design
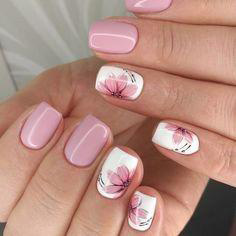
Average Application Time – 40 to 60 minutes.
Ingredients – light purple nail polish, white nail polish, flower stencils, nail glue, and nail disinfectant.
The Steps
Start by applying the light purple nail polish to all your nails, except the ring and pinky fingers. For the middle, index and thumb fingers, complement the nail design with a clear coat. The ring and pinky finger will each get a white coat, with pink coated flower stencils. Then, let it sit under an LED light for optimal curing.
6. Cute Cat Spring Nail Design

Average Application Time – 45-50 minutes.
Ingredients – white nail polish, heart stencils, kitty stencils, and medium tipped acrylics.
The Steps
Start by applying the acrylics on your middle and ring fingers. Then, apply the light pink polish to your thumb, index and pinky finger. For the middle and ring finger, complement the look with the stencils. You will have to balance out the appearance of each color to help produce the best results.
7. Butterfly Spring Nail Design
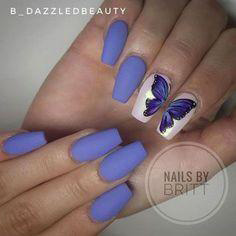
Average Application Time – 30 – 60 minutes.
Ingredients – Navy blue nail polish, nail glue, butterfly stencil, and white nail polish.
The Steps
Start by applying the light blue nail polish to all the nails on your right hand. Do the same for the right hand, and leave out the middle and pinky fingers. For these fingers, apply some white nail polish. Then, apply a unique butterfly stencil on both your middle and index finger. Let them sit under an LED light for curing purposes.
- Crochet Braid Hair Cost: Hope for a Style to Slay!! - January 9, 2024
- Best Braid Pattern For Crochet: Hair-Styling Tips And Tricks - January 3, 2024
- How To Braid Hair For Crochet: Best Hair-Styling Tips! - December 26, 2023

