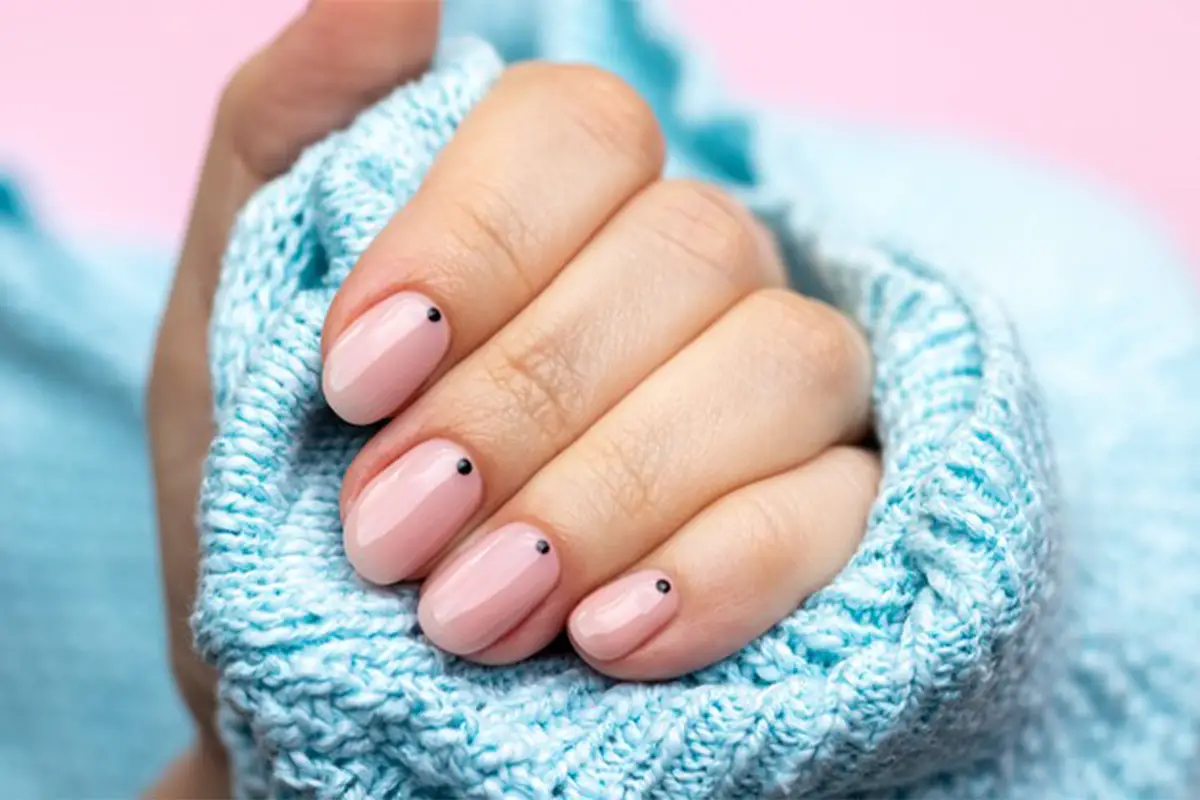
You might be wearing a fake nail. Or you’ve grown your natural nails long. You’ve gone through a lot of hassle to grow natural nails or apply fake ones. And that’s just to do some nail art using gel polish.
But here comes the tragedy. The gel polish is not curing. And you’re annoyed because it won’t cure after waiting so long.
So out of frustration, you are just wanting to know why is my gel polish not curing?
The answer can be that the gel polish got expired. Or you’ve put thick layers of gel polish. Or you haven’t applied a base or topcoat over r under the gel polish. As a result, the polish is uneven and not curing. Maybe you forgot to wipe the topcoat. Or the UV light is not working and that’s why the polish isn’t cured.
You know what’s wrong with your gel polish. But why not take a quick look and know how to cure your gel polish?
How to Tell If Gel Polish is Actually Cured Or Not?
Before you start panicking, we suggest you take a moment. Because you’ll need to understand if your gel polish is actually cured or not. If you fail to understand this, then all your hard work would be useless.
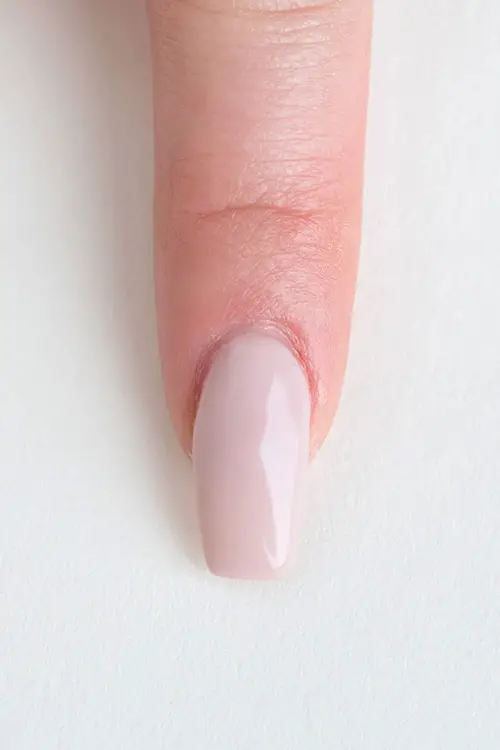
To help you be sure if the gel polish is cured or not, we came with two variables. You can easily get your answers depending on these.
See If It’s Cured
The first thing you can do is look at your nails. And see if the polish is dripping or sliding down. If yes, know that the polish is not cured. But if it looks shiny and plain, then it’s cured properly.
In most cases, you’ll see little air bubbles. Or you’ll see uneven texture if the gel polish is not cured. So look for these signs and identify if it’s cured or not.
Touch to Know If It’s Cured
What if you’re still not sure? In that case, we have another idea. Why not touch the polish to feel the texture?
Looks can be deceiving right? And you surely won’t want to get fooled by them. So, touch your nails. If it feels sticky or comes off with your fingers, then it’s not cured.
Sometimes you’ll notice that the polish isn’t coming off. But you’ll see your fingerprint on the polish if you press it. That’s another sign that the polish is not cured.
Why is My Gel Polish Not Curing?- How to Cure it?
You already know that the gel polish is not cured. We know how that hurts. But don’t just start with your summertime sadness. Because we know why this happened and exactly how to solve it.
Gel Polish Got Expired
The first thing you need to notice is whether your gel polish is expired or not. In most cases, we skip the basics. We nearly never check the expiry date of gel polish. But it is one of the basics to notice before applying gel polishes.
If you accidentally apply gel polish that’s expired, that won’t cure. Because with time, the consistency of the gel polish thickens on its own.
So using gel polish that’s really old or expired, means the layer is incurable.
Solution
Since the expiry date is over, you will be left with only one option. That is to remove the gel paint. First, take a gel polish remover. And start taking off your polish. Then, try to add some nail cream to moisturize.
The last time we messed up with our gel polish we used a nail cream. Then the following nail creams saved our nails.
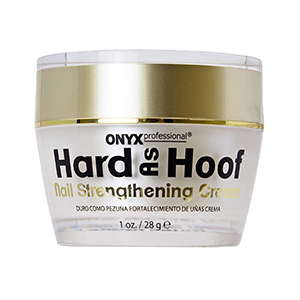
Hard As Hoof Nail Strengthening Cream with Coconut Scent Nail Strengthener
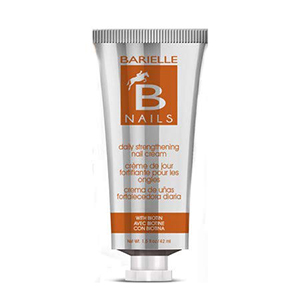
Barielle Nails Daily Strengthening Nail Cream with Biotin
Applying the nail cream will minimize the adverse effect of the expired gel polish. Because wearing expired nail polish will hamper your cuticles as well as nails.
So try to remove it as quickly as possible. Otherwise, you’ll be wondering why my cuticles itch.
Now if you want to decorate your nails, wipe off excess nail cream. Then just reapply your favorite gel polish. But make sure to check the expiry date this time. So that the gel polish finally cures.
Base Or Topcoat Not Applied
Another reason can be that you forgot to apply base/topcoat. Forgetting to put any of these mentioned coats, can result in non cured gel nail polish.
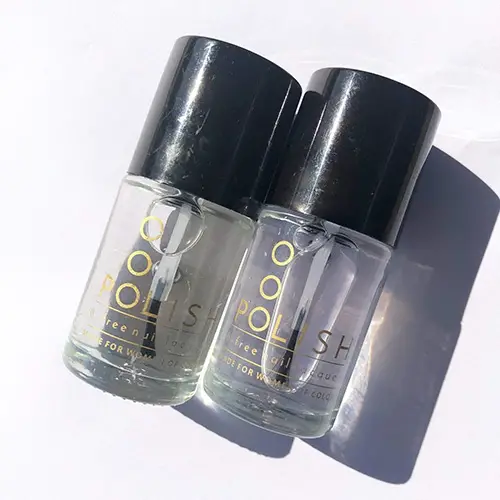
Gel polish can create an uneven texture if applied directly on nails. If you don’t put a base coat, the gel polish won’t spread evenly. As a result, some nail parts will remain thick and some will be thin.
So the curing period won’t be the same for both.
Even if you applied base coat but forgot to apply topcoat, the problem remains. You may not do that yet. Then know that it’s the reason why your gel polish is not curing.
Solution
Whenever you’re applying gel polish, do remember the layering sequence. You may have forgotten to apply the base coat. If that’s the case, you’ll need to remove the polish. And start all over again.
First, apply a base coat to your nails. Let it dry for 3 minutes naturally. Or put the nails under a UV lamp for 20 seconds. Then wait another minute.
Now apply the gel polish. Then dry it naturally for 5 minutes.
Then it’s time to apply the topcoat. After that, just simply put your nails under a UV lamp for 35 seconds. And you’re all done. You’ll see cured nails immediately.
Too Thick Coat
Whenever we try to apply gel coat to nails, we forget to count the layers. But that shouldn’t be the right thing to do. If you’ve put multiple layers of gel polish, it can be too thick.
And this thick texture won’t be easily cured. No matter how long you wait.
Another thing can also happen when applying too many layers. You might have added 4 coats of gel polish on one side. And added 5 coats on another side.
So you put the nail for the same time under UV. And the thicker coats will cure slowly. It will take more time than the less thick ones. So at the time, some parts will be cured and some won’t.
It’s another reason behind your nail curing concern. The ideal coating for gel polish is 3-4 layers max.
Solution
If you’ve applied multiple layers, we have a solution. Just take out your nail file. Then rub it on your nails. Soon layers will start to come off.
It will be thinned eventually. After you’re done, apply a layer of topcoat. And cure under a UV lamp. If you don’t have one, dry it naturally. It will give you cured nails.
From now on, whenever you’re applying gel polish, remember a simple tip. While nail coating, start from a stroke on the right side. Then one stroke on the left and one in the middle.
A final wide stroke on the whole nail or as much you can cover. That’s it and you’re done with your application.
Top-Coat Not Wiped
While putting gel nail polish, it’s important to wipe the topcoat. Maybe you haven’t wiped the topcoat after taking nails out from the UV lamp. So it’s definitely the reason. Because when the top coat over gel polish hardens, it becomes tacky.
So it’s needed to remove the tackiness after each layer. If you haven’t done that, then it’s surely the reason.
Solution
So, you’ve applied a layer of top coat and dried it under the UV light. Now it’s time to wipe it. You need to wipe the topcoat layer with a non-acetone solution.
You can wipe it with alcohol. But don’t put any solution that has acetone on it. Because that will simply wipe off the whole nail polish. So you have to find a solution that’s not acetone-based.
Most topcoats come with specific instructions. The preferred solution name is mentioned there. So you can use that specific solution to wipe your topcoat.
Or any sort of gel nail cleanser substitute would do the work. But check if it’s acetone-free or not.
Put the Gel Polish for Inadequate Time
Another factor for nail curing is time. It is the most common mistake we hear from gel polish users. They complain that the polish is not curing.
And most of the time, it’s just basic stuff. As it turns out that they haven’t waited for long enough.
Knowing the exact amount of time for the gel polish to cure is important. And not focusing on that might have caused you stress.
Solution
The solution is really simple. All you have to do is wait for adequate time. The gel nail polish will cure on its own.
What’s the perfect timing you asked? Well, it’s 30-35 seconds per hand. But it certainly depends on how many layers you’ve added. Also how long your nails will have a direct impact on the curing process.
So for your ease, we’ve come up with a solution table. There we have shown you how much time should wait. So that your nails can get cured.
| Layers of Gel Polish | Nail Size | Time to Cure |
|
3 layers |
11mm |
30 seconds |
|
4 layers |
13mm |
35-40 seconds |
|
5 layers |
16mm |
40-50 seconds |
You might not be sure of your nail size. In this case, you can search the shops or salons for a nail shape chart or guide. You have to set your fingers on the chart. And see which size your nails fit according to the chart.
This way, you’ll have the perfect measurement for your nails.
UV Lamp Not Working
Another least noticed reason is that the problem is with your UV lamp. It can happen that you’ve been stressing over the gel polish.
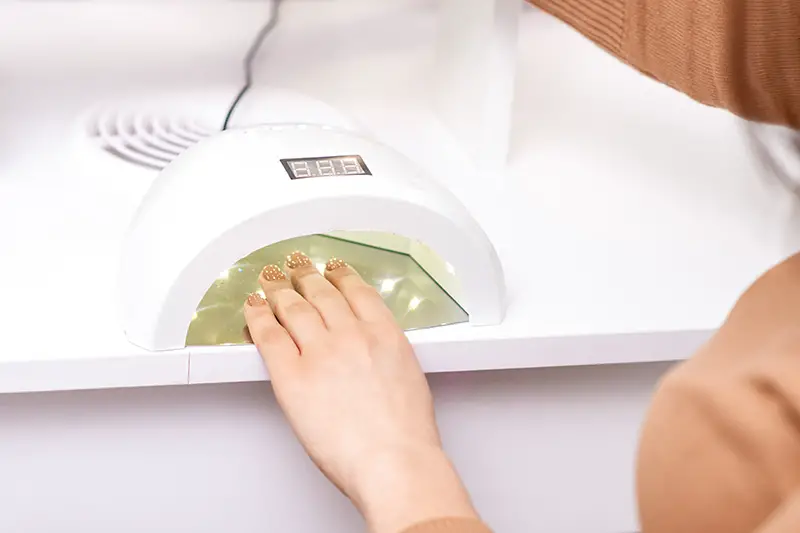
But the main culprit can be your UV light. Maybe all this time the light was dimmed. And you’ve been blaming the poor gel polish.
You can see if the light is dimmed. It’ll help you to understand if the UV light is not working. If yes, then that’s the reason why your gel polish hasn’t cured.
Most UV lamps have blue lights. Some also have purplish ones. When it’s dimmed the blue becomes more of a whitish sky blue color. And the purplish light becomes pinkish.
So if you’ve noticed something like this, know there’s a problem with the lamp.
Solution
If the problem is with the light, you’ll have to replace it with a new one. But when buying make sure to bring the perfect light. For that stay between 40 watts to 80 watts lights.
Or you can pick a LED light lamp if you’re replacing it. Because LED lights can cure your gel nail polish within 15-20 seconds. That is a lot faster.
You might be always in a rush. But you don’t want to skip nail styling. In this case, you can look for the following LED light lamps.
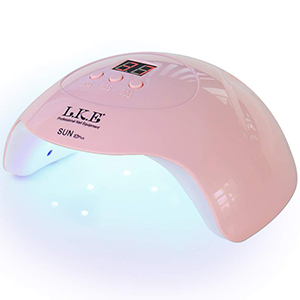
PHIAKLE Nail Drying Lamp for Gel Nails
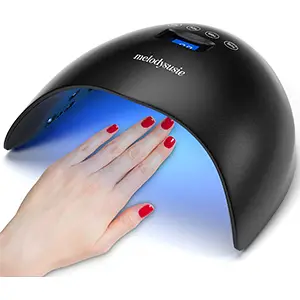
MelodySusie 48W UV LED Nail Lamp Professional Nail Dryer
So whether you have UV light or LED, make sure to replace them every 4 months. So that you can have the best service. Plus you’ll get cured nails in no time. Since gel polishes are a big fan of UV or LED lights.
We’re done explaining all the probable reasons and solutions. We believe you’ll be able to fix it on your own.
Frequently Asked Questions (FAQ)
How to get rid of the tackiness of gel polish?
To get rid of the tackiness, you’ll need 91% alcohol. Pour it on a wipe and wipe off the tacky coat. And end up with perfect nails.
Can gel polish still be sticky after curing?
Yes, gel polish can still be sticky after curing. But the stickiness only remains before you wipe the topcoat. Because the stickiness usually comes from the topcoat. And when you wipe off the topcoat, the stickiness goes away.
How to know if the gel polish is over-cured?
Gel polishes can be over-cured. To be certain check if the polish is discolored. Or the gloss is removed. These are the signs to know if you’ve over-cured.
Bottomline
You know how it feels when the gel polish is not cured. But through this whole article, we’ve tried to answer your queries. Just as we answered why is gel polish not curing, and how to cure it.
We are certain that you know exactly why and how. Next time, try waiting for1-2 minutes after putting nails to cure. So that you can be certain if it’s actually cured or not.
Do share your thoughts with us by commenting.
Happy nail painting!
- Crochet Braid Hair Cost: Hope for a Style to Slay!! - January 9, 2024
- Best Braid Pattern For Crochet: Hair-Styling Tips And Tricks - January 3, 2024
- How To Braid Hair For Crochet: Best Hair-Styling Tips! - December 26, 2023

