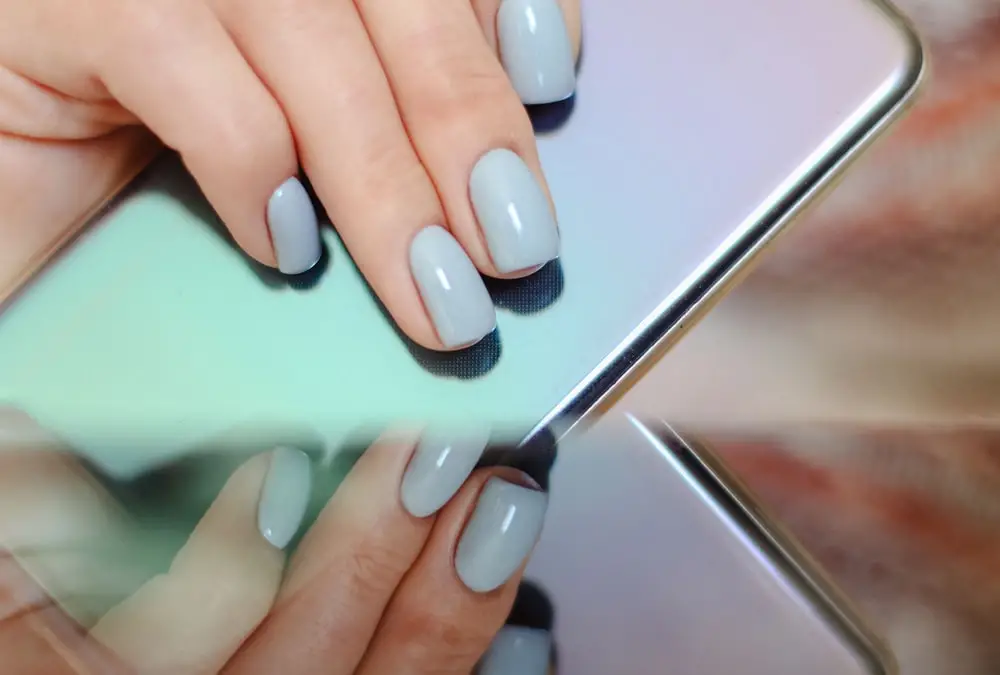
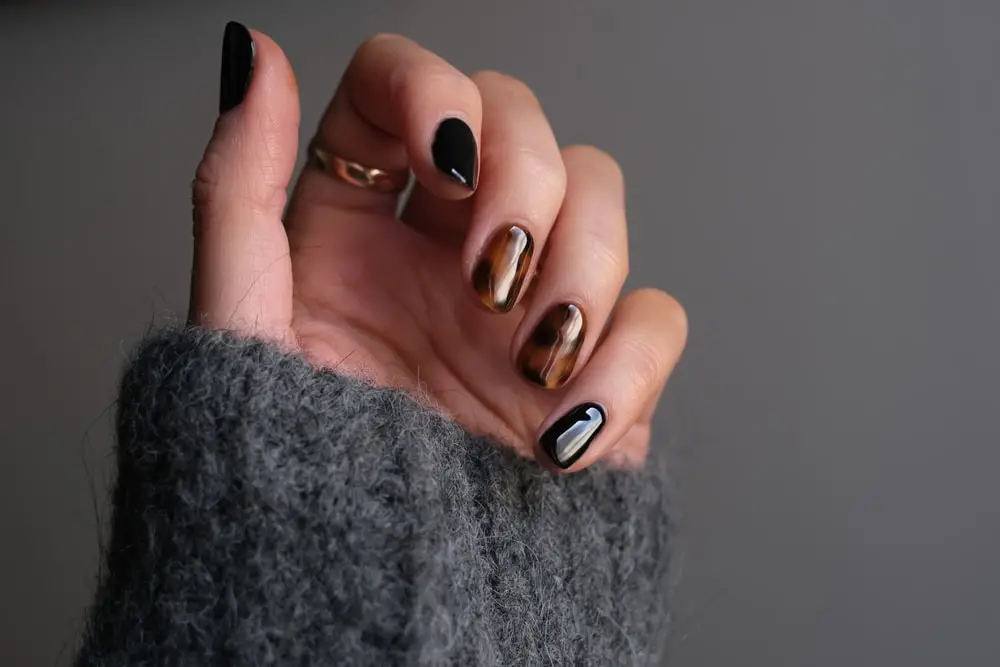
There are various reasons why gel nails pop off including physical trauma, improper removal, poor quality nail care, and improper nail removal.
Gel nails can chip or peel due to the use of low-quality gel products, damage by the client, and improper removal or preparation of the nail plate.
Reason #1. Failing to Use the Right Nailbed Preparation Procedures
Nail prep ranks high up among some of the most important factors you have to consider. Many people have often asked, why do my gel nails peel off after one day?
If this is you, then realize that poor nail prep might be among some of the main reasons for this issue.
While nail prep is a common cause, it is not often solely responsible for this issue. However, let us get started here.
So, why is nail prep important for gel nails?
The reason gel nails peel off is due to oil and smooth nails that don’t provide a suitable surface for setting the polish. Lack of sufficient nail prep procedures is also the reason why your polygel is soft after curing.
To help you put things into perspective, take the example of a carpenter or woodworker.
Before working on a surface, they often have to sand the world, before the nail bed is red for any polish. It’s a crucial resource if you want to ensure your gel nails offer longevity.
Nail Bed Preparation Steps
Here are some of the other steps to consider for nailbed preparation procedures:
- Push your cuticles back using a cuticle pusher, and remember the side sections of the nails.
- File the free edge and buff the nails properly. Failing to file the free edge will cause oils to reside on your nails, and eventually lead to peeling issues.
- Get a nail disinfectant and use it to clean your nails. Then scrub the nail on the sidewalls, to remove any oil.
- Let your nails sit for a few minutes before you can move your preferred nail care process.
Tips for Polygel Nail Prep
- Ensure you sand down your nails with the right file, and avoid the types made of durable nails such as acrylics.
- Remember to file the free edge of the nail completely, especially on the cuticles and sides. Doing this helps ensure your gel nails sit stable on your nails.
- Avoid over sanding your nails because this can lead to significant damage. You will also notice that excessive buffing can lead to extensive damage to the structure of your nails.
- Get a block bugger, and remove any frill bits that might still exist on the nails once you complete the shaping process.
Reason #2. Poor Nail Removal Procedures
Using the right removal procedures is crucial in the nail removal process, and in eliminating any accompanying layers with it. The best removal process involves the use of nail acetone, which will provide longevity benefits.
However, you have to be careful when using acetone products on your nail, because of its high potency levels.
Once you are done using the product, ensure you apply products such as nail moisturizer or conditioner to improve the structure of the nails.
Doing this on a regular basis helps ensure your nails stay healthy.
Using nail acetone also involves high levels of patience, to ensure the best removal results. You have to ensure the remover you use also contains the right ingredients.
A remover that isn’t harsh on the nails will not lead to drying complications when compared to using acetone. Dry nails are prone to breaking.
Reason #3. Failing to Use the Right Polish Application Process
While you might have performed the polish application process as required, you might still notice gel nails won’t sit comfortably on your nails. There are two key reasons why these issues might affect your nail application needs
- Curing times.
One of the key reasons you might have faced a compromise in the finish of your nails includes its curing times.
Even if you might have applied the polish to sections of your nails such as the edge and cuticle, the result might still be unappealing.
The issue might persist even if you might have shaken up the bottles before the application process.
One thing you have to realize is that solvents are often prone to the elements, especially air. Every time you remove the brush, the solvents will evaporate into the air.
The result is that the quality of the gel nail polish you use decreases significantly over time.
So, you also have to adapt your curing times according. The reason is that gel nail polish that is much thicker will require more UV or LED light to penetrate as required.
The traditional 10-second time might not be sufficient, and you may have to take the curing times up to the one-minute mark.
- Warpage.
The last issue to consider with gel nails is the warpage or shrinking issues. It refers to when gel nails move slightly on your nail plates. A good example is when you might have started painting your finger and finally settled on the thumb.
By the time you get through will your fingers, you might notice that polish might not have a consistent appearance.
The nails might no longer have an appealing structure, and the free edge that underwent the capping will no longer require sealing.
Buying quality nail polish might be a costly affair at first, but the benefits it provides offer a quality guarantee.
Fortunately, the list of quality nail products you can consider is immense. Always be careful about the presence of flitter pieces on the side wall sections. Plus, be careful in removing them before you seal with the top cat.
Doing this won’t lead to gel nail polish peeling issues. The other common issues that lead to gel nail warpage issues include:
- Using expired gel nail polish products.
- Buying poor quality gel nail products that don’t have regulatory approval marks.
- Using gel nails that have a significant pigment amount.
- Using gel nail polish products with bottles that have undergone shaking.
Guide to Fixing Warpage and Sealing the Free Edge of Nails
First off, ensure you realize the importance of why capping the free edge of your nails is crucial. Over time, the free edge will wear out, so the strength of your nails is crucial in stopping this issue.
Using the right seal for nails will also ensure that it’s free from oils and water that seep underneath and cause damage.
One helpful suggestion you should consider is to try to work on all your nails at the same time. Ensure you also cap the edge of both nails before you can set them on the lamp.
Doing this helps ensure nails sit as close to the cuticle and sidewalls as possible (a crucial step for applying poly gel nails!) We also recommend that you take a look at this video on how to pop off polygel nails.
Reason #4. Work on the Sealings on Your Nail
Ensure you also go to great lengths in ensuring that you seal all your nails the right way. We also came across the why do my gel x nails keep popping off question in many discussion forums.
The conclusion of this discussion was they pop off due to poor installation procedures. Here is a simple step-by-step guide for how to seal your poly gel nails with a top coat:
- Shake the top coat, start the application process then let the gel rest for a few minutes.
- Apply the topcoat on one nail at a time, and then cure them while ensuring all the paint polish gets to the cuticles and sidewalls.
- Once it’s complete, cap the edge before you set your hands in the lamp, and evaluate it for any shrinkage issues.
Reason #5. Using the Wrong Lamp
One of the keys to success in applying polygel nails involves using the right lamp. You will be surprised at the sheer number of people who have committed such polygel mistakes.
You also have to learn to use the lamps the right way for the best results. Here are some helpful tips for buying the right lamp for polygel nails:
- Choose a lamp that comes from a reputable brand such as CND Shellac and Gellish.
- Ask your nail technician for more information on choosing the best lamp for polygel nails.
- Avoid using your lamps in multi-socket settings because this can compromise the power supply.
- Apply your polygel nails correctly,y including by targeting the sidewalls and cuticles.
How to Do Polygel Nails at Home Step by Step
Did you know that it’s possible to do polygel nails at home using the right steps and resources? We also recommend that you realize polygel nails last for upto three or four weeks. However, here are some of the steps involved in this process:
Recommended Products
- Best UV LED Lamp – UV LED Nail Lamp 54W
- Best Acetone – Cutex Ultra-Powerful Nail Polish Remover for Gel
- Polygel nails – Morovan Poly Gel Nail Kit for Nails
- Nail Kit – Beetles Nail Tips and Glue Gel Nail Kit
- Nail strengthener – Nail-Aid Keratin 3 Day Growth Nail Treatment & Strengthener
Steps
- Prepare your nails by pushing back and aligning the cuticles. Then, use a file on your nails, and ensure you go for the medium grit nail file.
- Once you complete the filing process, clean your nails with acetone, and then use a nail primer.
- Set a base coat on your nails, and let it cure for up to one minute.
- Apply your polygel nail products during this step, and sort them out to be compatible with the size of your nails.
- Use the dual forms which tend to have a broader size than the nails.
- Add a bead of polygel to your nails, and into the middle section of the dials forms. Remember to wet your brush using a slip solution.
- Use the brush to spread out the polygel and ensure it occurs in the dual form.
- Once it’s complete, place the polygel nails under a UV LED lamp and let your nails cure for a few minutes.
- Complete this process by filing, and shaping the edge of your nails to suit your needs.
Frequently Asked Questions (FAQ)
How Do I Stop My Polygel from Falling Off?
There are various of stopping your polygel nails from falling off. The most common technique involves taking good care of your nails and overusing polygel nails. You need to give your nails time to recover and use the right products for this process.
How Do I Hold My Polygel Nails Down?
The best way to hold your polygel nails down is to ensure you use the right nail glue product. You may also have to set your nails underneath a UV lamp which helps with the curing process. Ensure you also keep your nails safe from issues such as trauma.
Do You Need a Base Coat for Polygel?
Yes, you need a base coat for polygel nails. The reason is that it’s a product that helps ensure that nails can stick to the surface as required. The product also helps fill all your nail ridges and guarantees a smoother surface for the application process.
There are reasons your polygel nails pop off including poor nail care procedures, using the wrong lamp, and more. With an informed approach, using polygel can be one of the most satisfying experiences.

- Crochet Braid Hair Cost: Hope for a Style to Slay!! - January 9, 2024
- Best Braid Pattern For Crochet: Hair-Styling Tips And Tricks - January 3, 2024
- How To Braid Hair For Crochet: Best Hair-Styling Tips! - December 26, 2023