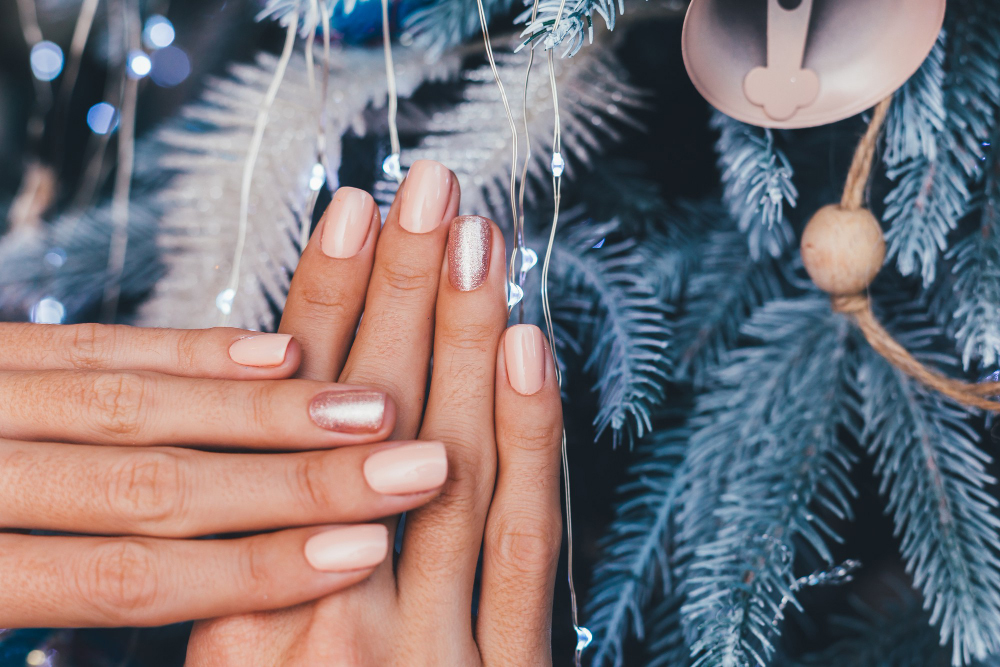
With Thanksgiving season right around the corner, people are increasingly seeking ways to commemorate such a special day. A good suggestion for you would be to try out the 9 thanksgiving nail polish designs that can bring you luck.
While you may have to get intricate with some of these designs, they are simple to apply and unique. You also have the freedom of getting creative
Thanksgiving Nail Designs-1
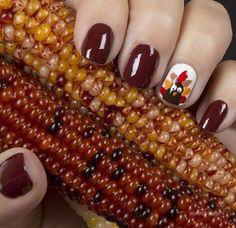
Average Application Time – 50 minutes.
Ingredients – brown nail polish, clear nail coat, nail glue and stencils.
The Steps
Make a good impression on your friends or family this holiday with these brown and coloured nail art designs. The nail art involves a creative use of the color blue, and a cartoon stencil.
You will start by applying a dark brown paint coat on all your nails, except the middle finger. For the middle finger, apply a white paint coat and set a unique cartoon character stencil on top of it. Finally, apply a clear nail polish coat on top of your nails, and let them sit under an LED light.
Thanksgiving Nail Designs-2
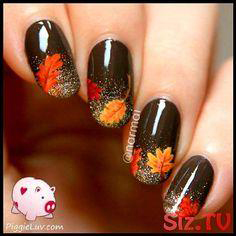
Average Application Time – 60 minutes.
Ingredients – dark brown nail polish, nail glue, leaf stencils, yellow and orange nail polish.
The Steps
Next on our list would be this unique design that involves the creative use of dark brown and a flower stencil. The first step in this process would be to clean your nails, and set transparent acrylics on top of them.
Next, apply a dark brown nail coat on top of your nails, and complement it with a clear coat of paint. Finally, complement this look with a light coat of leave decals and multi-colored glitter on the tip section.
Thanksgiving Nail Designs-3
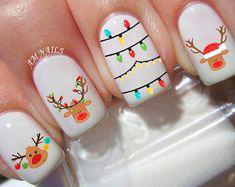
Average Application Time – 1 hour
Ingredients – Gel nails, winter decals and nail glue.
The Steps
White nail coats are sometimes the most appealing nail designs that you can find out there. For this nail art design, you will need some gel nails and unique cartoon colored decals. Start by cleaning your nails, and then set the white gel nails on top of them.
Then, place a unique cartoon character stencil on all your nails. The best suggestion would be to try and use christmas stencils, which are available in different colours.
Thanksgiving Nail Designs-4
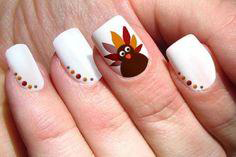
Average Application Time – 30 minutes.
Ingredients – White short tipped acrylics, cartoon stencils, and brown nail polish.
The Steps
We also recommend this unique nail design that involves the use of white short tipped acrylics and unique cartoon stencils. For this nail art design, start by setting the short tipped acrylics, and then set the cartoon stencil on your ringer finger.
However, the remaining nails will just get a white coat, with dotted patterns on the left edge of the nail. Then, let it cure in a cool and dry place.
Thanksgiving Nail Designs-5
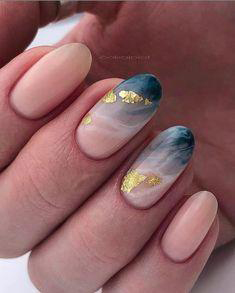
Average Application Time – 55 minutes.
Ingredients – Ombre acrylic nails, light pink nail polish, glitter, and nail glue.
The Steps
Remember this unique nail art design that is also simple, but pleasing on the eye. For this nail art design, you won’t need any nail polish other than some glitter paint. So, start by cleaning your nails, and then setting the acrylic nails on top.
You will place the light pink nails on your pinky, index and thumb fingers. However, the middle and ring finger will get ombre nails. Then, complement the ombre nails with a unique glitter polish for the best results.
Thanksgiving Nail Designs-6
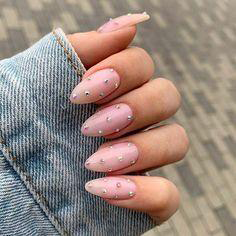
Average Application Time – 1 hour 10 minutes.
Ingredients – Pink acrylics, nail glue, and silver jewelry.
The Steps
You will also be pleased with how this light pink nail design comes off on your nails. It involves the use of light pink acrylics, which you shall complement with unique silver jewelry. Start by cleaning all of your nails, and then set the pink acrylics over them.
Next, apply some nail glue on each nail, and then set the silver jewelry in a random manner. Do it in such a way that it leaves adequate space for people to see the light pink patterns on your remaining nails.
Thanksgiving Nail Designs-7
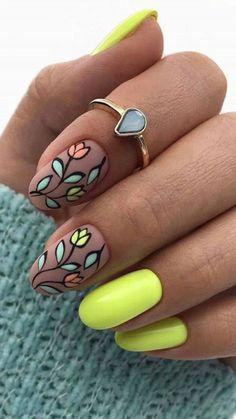
Average Application Time – 1 hour 20 minutes.
Ingredients – Yellow acrylics, leaf stencils, and nail glue.
The Steps
The final contender on our list of Thanksgiving nails would be this Matte Green Almond Nail Design. You will need luminous green acrylics, and a multi colored leaf stencil to help you pull off this look.
Start by applying some nail glue on your nails, and then set the acrylics on top of them. However, your index and middle finger will be unique as they will get the unique multi-colored leaf stencil design.
- Crochet Braid Hair Cost: Hope for a Style to Slay!! - January 9, 2024
- Best Braid Pattern For Crochet: Hair-Styling Tips And Tricks - January 3, 2024
- How To Braid Hair For Crochet: Best Hair-Styling Tips! - December 26, 2023

