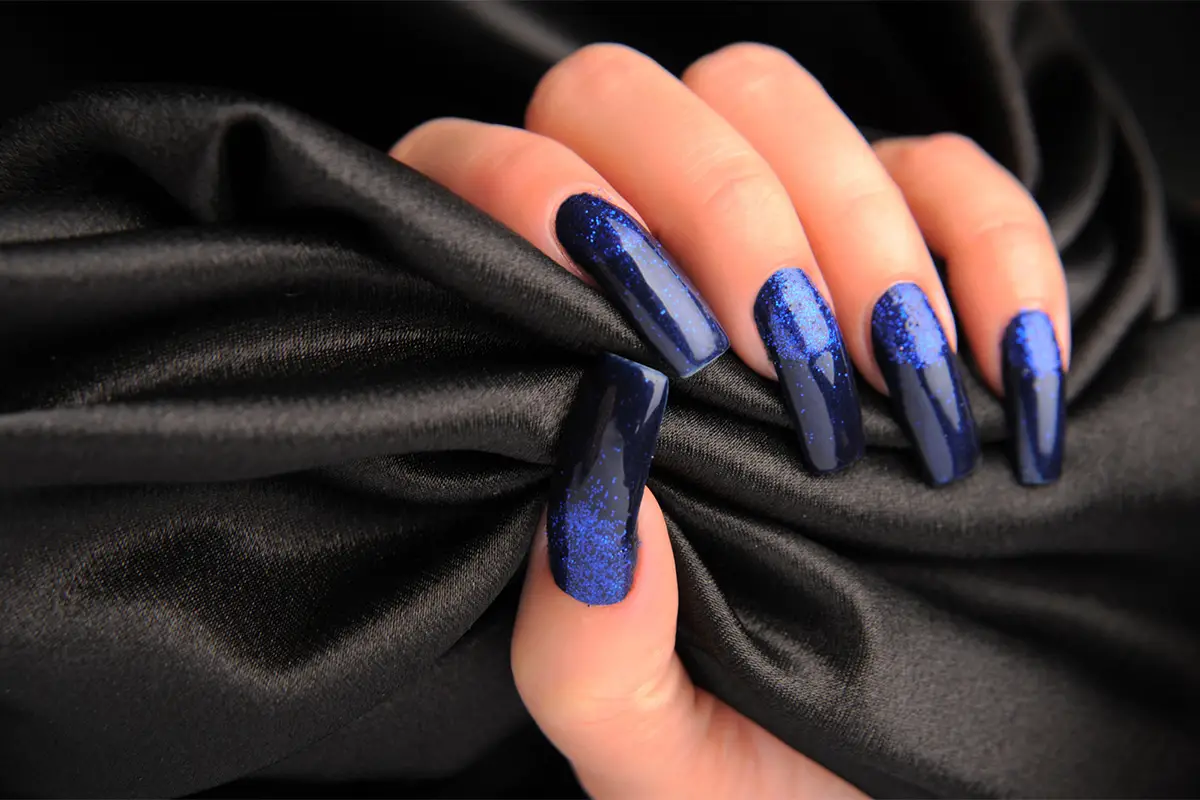
Being able to play around with a single shade of your favourite nail colour, and unique decorations can be a good skill. However, it’s not easy if you don’t have the right information, or experience in making such nails.
So, what are the 9 immaculate cobal designs to make your nails appealing?
Well, you have many options in this category. You can start with the square silver and cobalt blue, or the rhine stone cobalt, or more. The main thing to consider is to just get creative with how you balance the dark shades of cobalt.
1. Square Silver and Cobalt Blue Nail Design
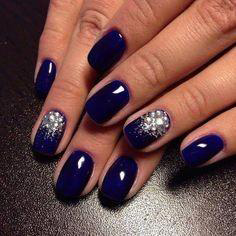
Discover the excellence of this unique combination of the dark shade of cobalt, along with some nail decorations. Start by applying a plain coat of dark cobalt on all your nails. Ensure you cure it using the correct technique so the finish is of high quality.
Then, apply a light coat of glue above the cuticle section of your nails. Before the glue dries, apply some glitter above the glue and let it dry for a few minutes.
2. Rhinestone Cobalt Blue Nail Design
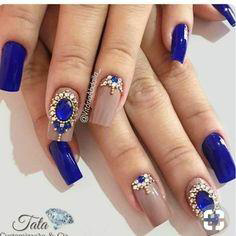
For this unique design including Rhinestones, you will have to get creative and unique with your elements.
Start by cleaning your nails, and applying nail extensions. Then, apply a light coat of dark cobalt paint on your pinky, index finger and thumb.
However things will get unique on your middle nail and index finger.
3. Hello Kitty Cobalt Blue Nail Design
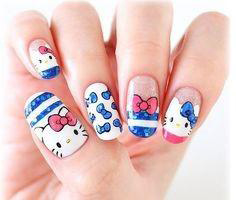
Did you know you can still communicate your childish side through your nails? Well, this unique Hello Kitty design is an excellent suggestion.
For this entire nail coat, you will need Hello Kitty stencils. However, the middle nail and thumb nails will require a white coat of paint first.
4. Marble Cobalt Blue Nail Design
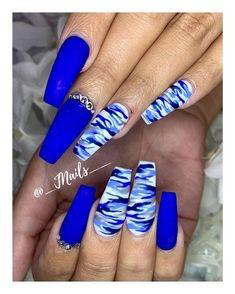
For this approach we are going to find a unique way to play around with different shades of cobalt, and white nail polish.
First, start by applying a dark blue colour to three of your fingers. The specific pattern of the colour only applies to the unique finish.
For the unique cobalt finish, ensure you apply it to two successive nails for the best results. Doing so helps add a unique sense of organization to the nails.
5. Holographic Cobalt Blue Nail Design
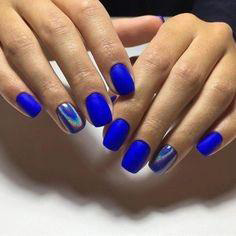
When it comes to apply this unique approach to nail design, you will have to get some shiny cobalt blue nail polish. First, start by applying the matte cobalt blue finish on all your nails.
However, leave out the ring finger, and apply some rainbow glitter around on the top of the surface. It should help make the nail unique and more appealing compared to the remaining nails.
6. Aztec Cobalt Blue Nail Design
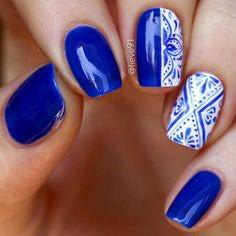
While applying detailed designs to your nails might seem like a difficult task, its a simple process when you have the right resources. For this nail design, start by applying a cobalt blue nail paint to all your nails.
However, leave out the middle and ring finger, because they will get the aztec design. For the middle finger, half of the nail gets a clear paint coat, while the other half gets the unique aztec design.
The ring finger gets a complete blue and white aztec design, which you can easily find online.
7. Matte Cobalt Blue Nail Design
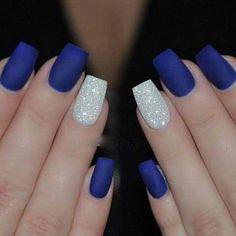
You can also make the matte cobalt blue nail design finish look appealing on your nails. For this design, you will need nail extensions, some white glitter, and matte blue nail polish.
Start by applying a matte blue finish to all your fingernails, and leave out the ring finger. For the ring finger, apply nail polish with some glitter in it, and let it cure under an LED light.
8. Chrome Cobalt Blue Nail Design
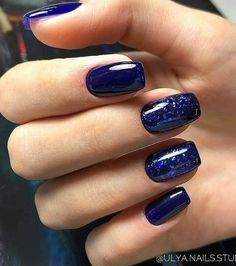
Take your nail decoration skills to the next level with this unique chrome cobalt blue nail design. For this approach to nail care, you will need just a single coat of paint. Plus, you may need upto 20 minutes for this nail paint to come out right.
Once you clean your nails, apply, the chrome cobalt paint over your nails. Let it sit and cure it under an LED light to ensure the best results.
9. Gold foil Cobalt Blue Nail Design
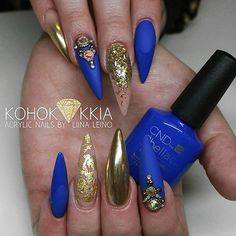
Who knew that gold and blue would pair so on fingernails? You are in for the perfect shock once you can set this design on your nails. Start by applying some acrylics on all your nails. Then, get some gold glitter paints, plain gold paint, nail glue, and a light blue paint.
Then proceed to apply the light blue paint on your index, thumb and pinky finger. For one of these fingers, apply some nail glue over the nail base, and set some jewelry over it. Next, apply the plain gold finish to your middle finger. Then, complete this process by applying the glitter finish over your middle finger.
- Crochet Braid Hair Cost: Hope for a Style to Slay!! - January 9, 2024
- Best Braid Pattern For Crochet: Hair-Styling Tips And Tricks - January 3, 2024
- How To Braid Hair For Crochet: Best Hair-Styling Tips! - December 26, 2023

